Introduction
Nginx is a free, high-performance HTTP server and reverse proxy, as well as an IMAP/POP3 proxy server. Nginx is written to address the C10K problem. Unlike traditional servers such as Apache, Nginx doesn't rely on threads to handle requests. Instead, it uses an event-driven (asynchronous) architecture.
In this tutorial, we will install Nginx on your Ubuntu 15.04 server.
Installing Nginx
Nginx can be easily installed on Ubuntu using apt-get package repository. Use the following commands to install Nginx on your server.
# sudo apt-get update
# sudo apt-get install nginx
Nginx and other required software to run Nginx will now be installed on your server.
Checking Nginx
By default, Nginx will automatically start up once the installation is complete. You can check if Nginx is installed by typing your IP address or domain name into your web browser.
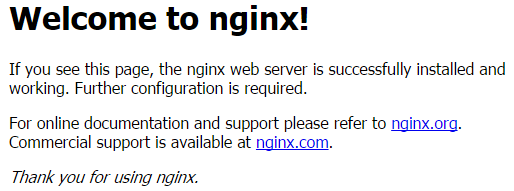
If Nginx is installed correctly, you will see the Nginx default landing page, which should look like this:
Basic Nginx Commands.
Starting / Stopping / Restarting Nginx service. We can start / stop / restart the Nginx service by using the command below.
# sudo service nginx stop
# sudo service nginx start
# sudo service nginx restart
You can use the following command to reload Nginx server after you made changes to the config file such as nginx.conf:
# sudo nginx -s reload
Managing Nginx
By default Nginx HTML files will be located in /usr/share/nginx/html/.
Now you can add your HTML files to this directory and start using the web server.


Comments
Add comment